

Building a website for your small business can feel confusing when you just want something that works without constant headaches. If you are a local service provider or non-tech-savvy professional, the process often seems filled with choices that waste time and money. By focusing on clear website goals from the very start, you create a path toward a website that actually helps your business grow instead of just sitting online unnoticed.
Table of Contents
- Step 1: Define Your Website Goals
- Step 2: Prepare Your Content And Branding
- Step 3: Build And Configure Your Website
- Step 4: Test Functionality And Appearance
- Step 5: Publish And Verify Your Site
Quick Summary
| Key Point | Explanation |
|---|---|
| 1. Define Clear Website Goals | Establish specific, measurable, achievable goals for your website to guide its development and ensure it meets your business needs. |
| 2. Prepare Essential Content and Branding | Gather key messages, service details, and testimonials to effectively communicate your business identity and offerings. |
| 3. Choose the Right Website Platform | Select a user-friendly website builder that aligns with your technical skills and future needs for your site. |
| 4. Conduct Thorough Testing | Ensure all functionality works, including forms and links, across various devices and browsers before going live. |
| 5. Secure Your Website After Launch | Implement SSL certificates and monitoring to protect visitor data and quickly resolve any site issues. |
Step 1: Define your website goals
Before you build anything, get clear on why your website exists and what you want it to do for your business. This foundational step prevents you from wandering in circles later, wasting time and money on features that don't matter.
Start by asking yourself these core questions:
- What does your business do, and who do you serve?
- What should visitors do when they land on your site (contact you, book an appointment, make a purchase)?
- How will you measure success?
- What problems does your website solve for customers?
Once you've answered these, write down your goals using SMART goal framework (Specific, Measurable, Achievable, Relevant, Time-bound). Instead of saying "I want more customers," say "I want to generate 10 qualified leads per month within 6 months." That specificity transforms a vague wish into something you can actually track.
Here's how the SMART goal framework guides effective website goals:
| Principle | What It Means | Website Example |
|---|---|---|
| Specific | Clearly defined focus | "Generate plumbing leads in Phoenix" |
| Measurable | Quantifiable outcome | "15 service inquiries monthly" |
| Achievable | Realistic target | "Within current staff capacity" |
| Relevant | Supports business mission | "Showcase emergency services" |
| Time-bound | Includes a deadline | "Within six months" |
Your goals should connect directly to your business mission. If you're a plumber in Phoenix, your website might focus on fast response times and emergency service availability. If you're a health coach, it might emphasize building trust and showcasing client transformations. Different businesses need different things from their websites.
Here's what strong website goals look like:
- Generate 15 qualified service inquiries monthly
- Reduce phone call volume by automating appointment booking
- Build email list of 200 interested prospects in the first 90 days
- Establish credibility through client testimonials and case studies
- Answer customer questions 24/7 without adding staff
Clear goals act as your compass during the entire website building process. Every decision you make—from design to content—should push you toward these goals.
Don't overthink this. You don't need five goals. Two or three strong ones are perfect. Your goals will guide what goes on your site, how it's organized, and what happens after someone visits. They're the reason your website exists, not just another task on your to-do list.
Pro tip: Write your goals down and share them with whoever is helping build your website, whether that's an internal team member or an external partner. A shared vision prevents miscommunication and keeps the project focused on what actually matters for your business.
Step 2: Prepare your content and branding
Your content and branding are what visitors actually see and experience. Before your website launches, get these elements ready so your site reflects who you are and what you offer.
Start by gathering the core content pieces you'll need. Most small business websites require these essentials:
- A clear description of what you do and who you serve
- Information about your team or background
- Details about your services or products
- Pricing information (if applicable)
- Contact information or how to book
- Customer testimonials or case studies
Your branding creates the visual and emotional impression visitors get from your site. This includes your logo, color scheme, fonts, and the overall tone of your writing. When people encounter your branding process, they should feel like they're experiencing the same company whether they visit your site, see your social media, or talk to you in person.

Think about what makes your business different. Are you the fastest? The most affordable? The most trustworthy? Build your messaging around that unique angle. If you're a personal trainer in Denver, don't just say you offer training sessions. Say you specialize in helping busy professionals get fit without leaving their homes.
Don't try to create perfect content right now. Write down your key messages in plain language. Here's what strong content preparation looks like:
- Write a two-sentence description of your business
- List your three main services or products
- Gather three to five customer testimonials or success stories
- Note your contact methods and response times
- Identify your main color palette and any existing brand materials
Content and branding work together to tell your business story. Visitors should understand who you are within seconds of landing on your site.
Your website designer or platform will help you polish and organize this content, but you need to provide the raw materials first. This step prevents delays later and ensures your site says what you actually want it to say.
Below is a summary of key content and branding elements for your website and why they matter:
| Element | Purpose | Business Impact |
|---|---|---|
| Business Description | Quickly communicates what you offer | Reduces visitor confusion |
| Team/Background | Builds trust and credibility | Humanizes your business |
| Services/Products | Clarifies what's for sale | Helps convert visitors to buyers |
| Visual Branding | Creates consistent experience | Boosts brand recognition |
| Testimonials | Provides social proof | Increases customer trust |
Pro tip: Collect at least two customer testimonials before launch, even if they're brief. A real customer quote builds more trust than any marketing language you could write yourself.
Step 3: Build and configure your website
This is where your website actually comes to life. You'll select your platform, set up the structure, and configure all the features that make your site work for your business.
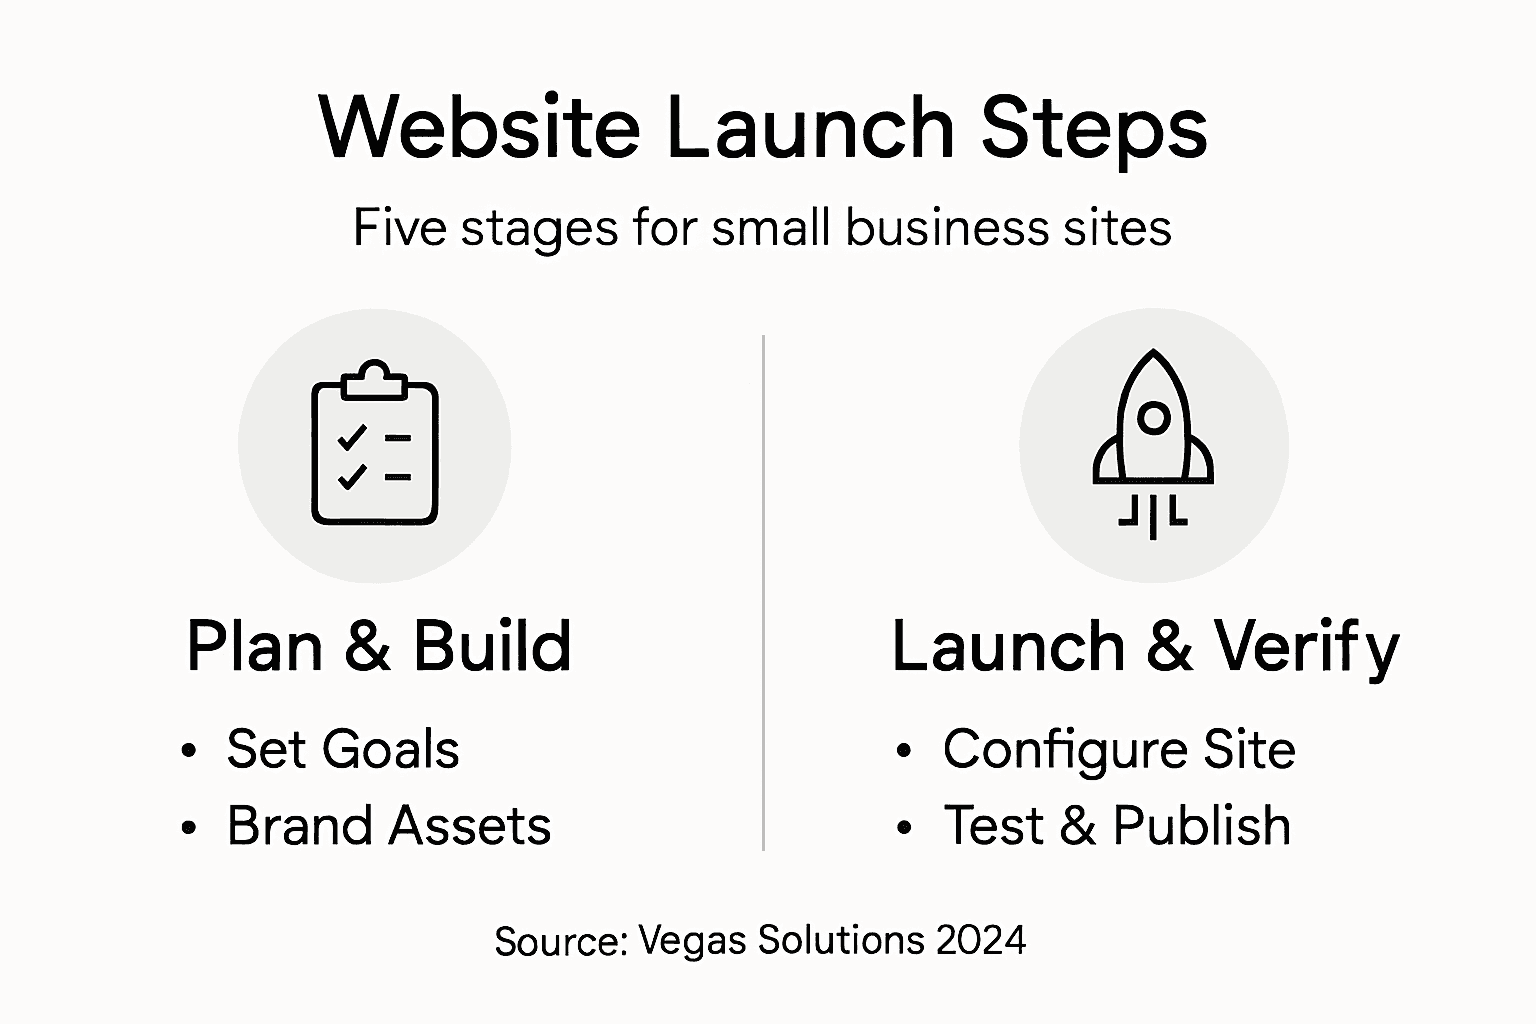
Start by choosing a website platform that matches your technical comfort level and business needs. Some platforms are drag-and-drop builders perfect for non-technical owners. Others require more coding knowledge but offer more customization. Think about what you need now and what you might need in the future.
Once you've selected your platform, proper website configuration ensures your site is secure, performs well, and works smoothly for visitors. This includes setting up your site structure for easy navigation, implementing basic SEO so search engines can find you, and configuring forms or booking systems if you need them.
Here's what to focus on during this phase:
- Create a logical site structure with clear menu navigation
- Set up essential pages (Home, About, Services, Contact)
- Install an SSL certificate for security
- Configure your contact forms or booking system
- Set up analytics to track visitor behavior
- Test that all links work correctly
Don't get overwhelmed by technical jargon. Your website builder will guide you through most of these steps with simple tools. Focus on making your site easy to navigate and fast to load. Visitors should find what they need within two clicks.
A well-configured website works invisibly behind the scenes, letting visitors focus on your content instead of fighting with broken links or confusing layouts.
If you're not comfortable building this yourself, that's what website professionals exist for. Many small business owners partner with a designer or agency to handle this step while they focus on running their business. The goal is getting your website live and functioning, not doing everything yourself.
Pro tip: Test your website on a mobile phone before launching. Over 60% of web traffic comes from phones, so if your site doesn't work smoothly on mobile, you're losing customers before they even see your content.
Step 4: Test functionality and appearance
Before your website goes live, you need to make sure everything actually works and looks good. Testing catches problems while you can still fix them, not after customers see them.
Start by testing every button, link, and form on your site. Click through your navigation menu. Fill out your contact form and make sure the message arrives. Try booking an appointment if you have that feature. If something breaks or doesn't work, you'll find it now instead of a customer finding it later.
Next, check how your site looks on different devices. Open it on your phone, tablet, and desktop computer. Does your layout adjust properly? Are images showing correctly? Is text readable without zooming? Your website appearance across devices matters because visitors use all kinds of screens.
Test in multiple browsers too. Check your site in Chrome, Firefox, Safari, and Edge. Sometimes a site works perfectly in one browser but breaks in another. Catching these issues before launch prevents frustrated visitors from leaving.
Here's your testing checklist:
- Click every link to ensure nothing is broken
- Fill and submit forms to verify they work
- Test on mobile, tablet, and desktop screens
- Check in multiple browsers (Chrome, Firefox, Safari, Edge)
- Load times by watching pages open slowly
- Images display correctly without stretching or cutting off
- Read all text for spelling and formatting errors
Usability testing evaluates real user interactions to identify problems before launch. The easier your site is to use, the more customers stay on it.
If you notice issues, fix them before going live. This is your final quality check. Test yourself and ask a friend to try navigating your site without instructions. Can they figure out how to contact you or buy your product? If not, adjust until it feels natural.
Pro tip: Ask someone unfamiliar with your business to test your site and tell you what they think. Fresh eyes catch confusing navigation or unclear messaging that you might miss after staring at it for weeks.
Step 5: Publish and verify your site
Your website is ready. Now it's time to make it live so the world can see it. Publishing means uploading your site to a web server and pointing your domain name to it.
Start by connecting your domain name to your website hosting. Your domain is your web address (like yourname.com). Most website builders make this step straightforward with clear instructions. You'll update your domain's DNS settings to point toward your hosting provider's servers.
Once your site is live, verify that everything works from the public internet. Visit your website using your domain name in a web browser. Check that all links still work, forms still submit, and pages load quickly. This is your last chance to catch issues before customers arrive.
Securing your site is critical. Make sure your hosting provider has installed an SSL certificate, which adds the "https" to your web address and protects visitor data. Website security and SSL certificates are essential for both protection and trust. Visitors notice when a site is secure.
Here's your post-launch verification checklist:
- Visit your site using your domain name
- Test all forms and contact methods
- Verify links work across all pages
- Confirm SSL certificate is active (look for the padlock icon)
- Check page load speeds are reasonable
- Set up analytics to track visitor behavior
- Test email notifications from forms
Publishing your site means deploying it live, configuring DNS settings, and ensuring ongoing backups protect your work. Verification confirms everything works as intended before announcing your launch.
Set up a monitoring system to alert you if your site goes down. Most hosting providers offer uptime monitoring. You want to know immediately if something stops working so you can fix it quickly.
Pro tip: Set up automated backups immediately after publishing. If something goes wrong, you'll have a recent copy to restore from, saving you from potential data loss or security breaches.
Simplify Your Website Launch Journey with Vegas Solutions
Navigating the website launch process reveals the challenges small business owners face—setting clear goals, preparing content and branding, building and configuring a site without technical headaches, thoroughly testing all functionalities, and finally publishing a polished, secure website.
At Vegas Solutions we understand these challenges and provide tailored support that takes away your stress. We offer complete website building, hosting, and maintenance services designed specifically for small businesses and self-employed professionals. With one point of contact and simple, jargon-free communication, you get a fast turnaround and ongoing support so your site not only launches smoothly but continues to perform flawlessly.
Ready to leave technical hurdles behind and focus on growing your business? Instead of wrestling with website setup, start with a $69 demo and experience the difference firsthand. Start today at Vegas Solutions and turn your website goals into reality.